
A Small Roof Leak Can Become a Big Problem Fast
Asphalt roof leak repair is something most Ohio homeowners will face at some point — and how quickly you act makes all the difference. As a leading provider of roofing services in Ohio, Mid Ohio Roofing understands that timing is everything when protecting your home from water damage.
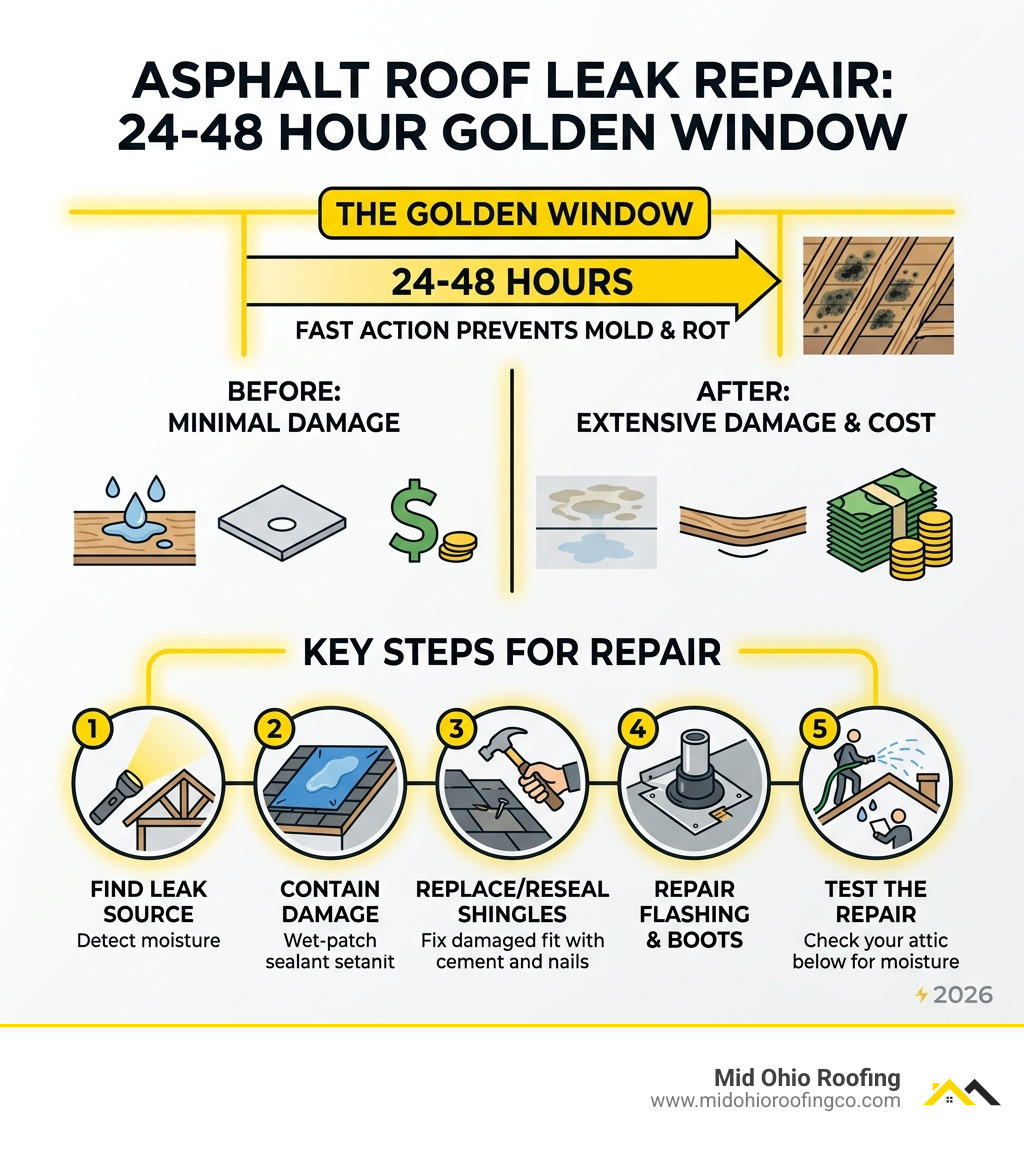
Here’s the short answer on how to fix a leaking asphalt shingle roof:
- Find the leak source — inspect your attic with a flashlight for wet spots, water trails, or stained insulation
- Contain the damage — apply a temporary tarp or wet-patch sealant if you can’t repair immediately
- Replace or reseal the damaged shingles — use roofing cement, galvanized nails, and matching replacement shingles
- Repair flashing and pipe boots — reseal or replace cracked metal flashing and rubber vent boots
- Test the repair — run a garden hose over the area and check the attic for moisture
The Golden Window: You have roughly 24 to 48 hours after a leak appears before moisture starts triggering mold growth and structural wood rot. Fast action is the single biggest factor in keeping repair costs low.
Water doesn’t stay where it enters. It travels along rafters, runs down sheathing seams, and can drip through your ceiling feet away from the actual entry point. That’s what makes asphalt roof leaks so deceptive — and why Ohio homeowners often underestimate them until the damage is already spreading.
Asphalt shingles cover nearly 70% of homes in the United States, and for good reason: they’re affordable, durable, and relatively easy to repair when problems are caught early. But Ohio’s freeze-thaw cycles, heavy snow loads, and spring storms put those shingles under constant stress. A small crack or lifted tab can quietly let water in all winter long.
Whether you’re dealing with a nail pop, a cracked pipe boot, or wind-lifted shingles, this guide walks you through every step — from finding the leak to fixing it correctly. As the residential roofing experts at Mid Ohio Roofing, we’ve seen what happens when small leaks go ignored, and we want to help you avoid that outcome.
I’m Albert Wengerd, owner of Mid Ohio Roofing, and I’ve spent years overseeing asphalt roof leak repair projects across Central Ohio — from minor shingle patches to full structural repairs after storm damage. In this guide, I’ll share exactly what works, what doesn’t, and when it’s time to call a pro.
Identifying the Source of an Asphalt Roof Leak
Finding the exact entry point of water is often the hardest part of Asphalt roof leak repair. Because of the physics of gravity and capillary action, water can enter through a small hole near the ridge and travel 15 feet down a rafter before finally dripping onto your bedroom ceiling. To find the “sneaky” source, you need to think like a detective.
The Attic Inspection
The best time to find a leak is while it is raining. Head into your attic with a high-powered flashlight. Look for:
- Water Trails: Wet streaks or “white tracks” on the plywood sheathing or rafters.
- Dark Spots: Areas of the wood that look damp or discolored.
- Saturated Insulation: Wet fiberglass insulation loses its R-value (insulating power) immediately and can hide pooling water.
- Mold or Mildew: A musty smell or black spotting indicates a long-term, slow leak.
If you can’t find the source during a storm, look for “shiners”—nails that missed the rafter and are now covered in white frost or rust. These often act as conduits for moisture. For more complex issues, professional roof leak detection services use thermal imaging to see moisture trapped behind walls.
The Garden Hose Test
If the attic is dry, you’ll need a helper and a garden hose. Start at the bottom of the roof (the eaves) and soak a small section for several minutes. Have your helper stay in the attic with a flashlight. Move upward slowly, section by section. This method isolates specific areas like valleys or chimneys, helping you pinpoint the failure.
The Magnet Trick
If you find a damp spot in the attic but can’t find it on the roof, try this pro tip: Tape a strong neodymium magnet to the leak point inside the attic. Then, take a compass onto the roof. The compass needle will spin when you pass over the magnet, marking the exact spot for your Asphalt roof leak repair.

Essential Tools and Materials for Repair
Before you climb that ladder, you need the right gear. Using the wrong materials—like standard caulk instead of roofing-grade sealant—will result in a patch that fails within months.
- Flat Pry Bar: Essential for breaking the adhesive seal between shingles and prying up nails.
- Utility Knife: For cutting shingles or trimming underlayment.
- Roofing Cement (Mastic): Often called the “duct tape of roofing,” this thick asphalt-based adhesive is used for patching and sealing.
- 6d Galvanized Roofing Nails: Use 1-1/4 inch or 2-inch nails. According to the NRCA, galvanized fasteners are mandatory to prevent rust.
- Replacement Shingles: Ensure they match your existing roof (3-tab vs. architectural).
- 30# Roofing Felt: Stiffer and more durable than 15# felt, making it easier to slide under existing layers for an asphalt shingle roof repair.
- Caulk Gun & Rubberized Wet Patch: Use a “wet patch” product if you are working on a damp surface during an emergency.
- Safety Gear: A sturdy ladder, ladder stabilizer, and a fall arrest harness are non-negotiable.
Step-by-Step Guide to Asphalt Roof Leak Repair
Once you’ve located the damage and gathered your tools, it’s time to get to work. Most roof repairs involve either sealing a minor crack or replacing a shingle entirely.
Replacing Damaged Shingles in an Asphalt roof leak repair
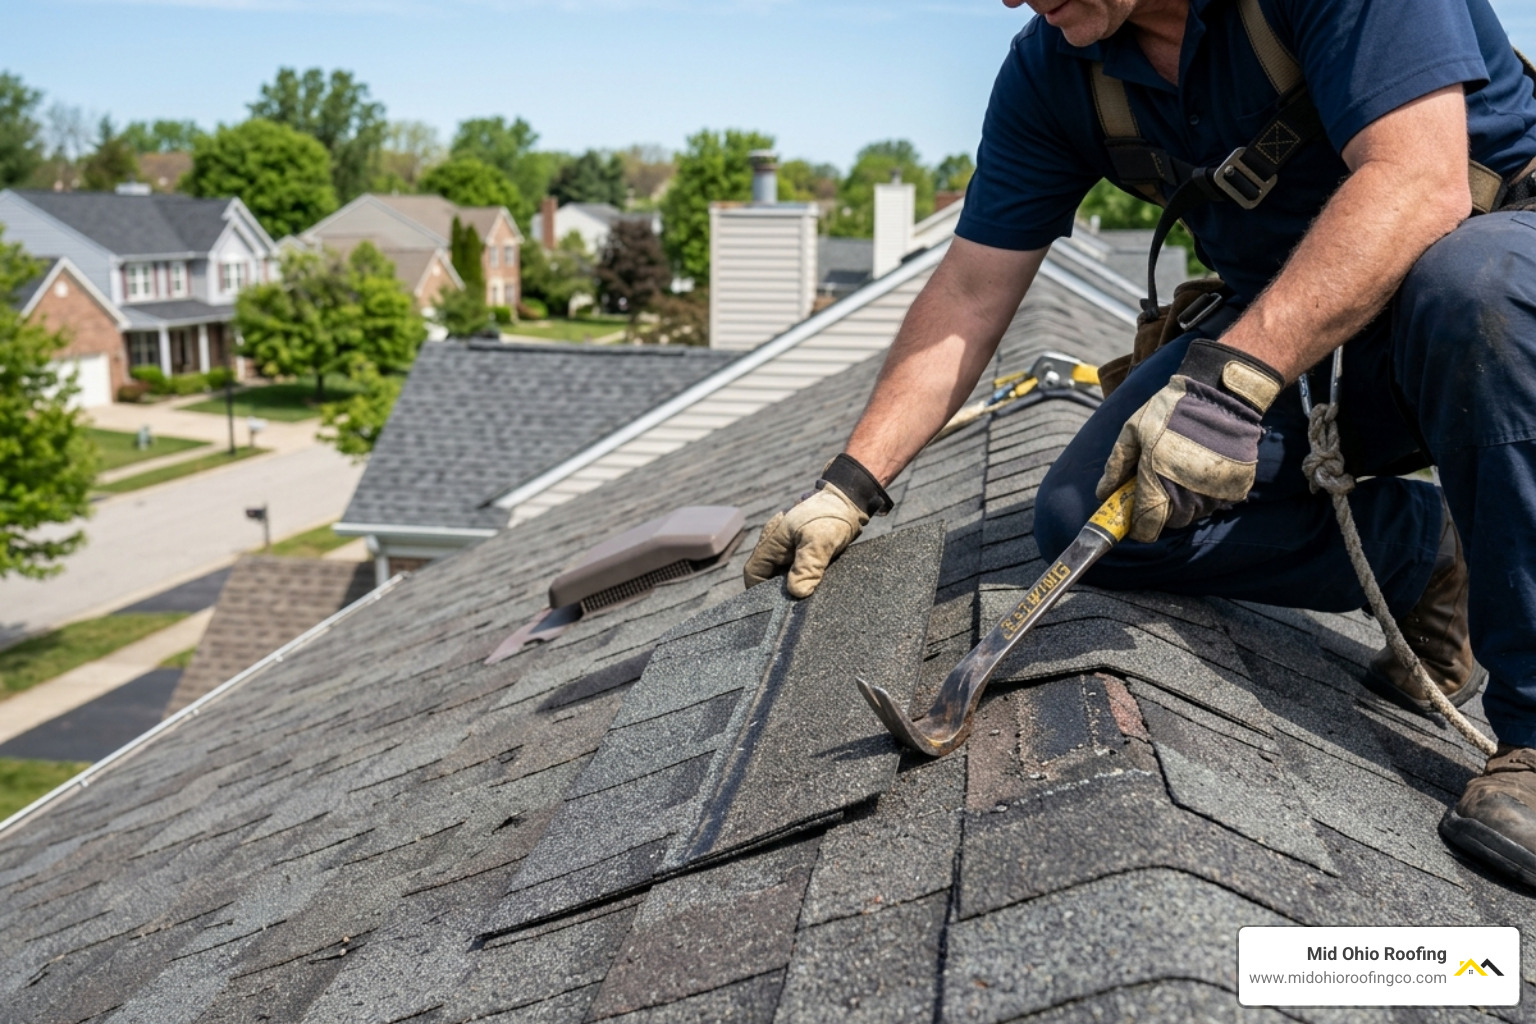
- Break the Seal: Slide your flat pry bar under the shingle above the damaged one. Gently lift to break the tar adhesive strip. Repeat this for the damaged shingle itself.
- Remove Nails: You’ll need to remove the nails from the damaged shingle AND the row above it, as those nails often pass through both layers.
- Slide Out the Old Shingle: Once the nails are pulled, the damaged shingle should slide right out.
- Prep the New Shingle: Pro tip: Use your utility knife to round the back corners of the new shingle. This prevents it from catching on the underlayment as you slide it into place.
- Install and Nail: Slide the new shingle in. Follow a 4-to-6 nail pattern as specified in GAF installation instructions. Drive nails just above the sealant strip.
- Seal the Heads: Place a small dab of roofing cement over every nail head for a waterproof finish.
Fixing Curled or Cracked Shingles in an Asphalt roof leak repair
If a shingle is simply curled but not brittle, you can re-secure it. Apply a generous bead of roofing cement to the underside and press it down. Use a brick to weigh it down for 24 hours until the bond sets. If the shingle is cracked, apply sealant under the crack and over the top, then sprinkle loose granules (collected from your gutters) over the wet cement to protect it from UV rays and help it blend in. If you have a major leak during a storm, emergency tarping is the best way to stop the bleeding until the weather clears.
Repairing Flashing, Vents, and Valleys
While shingles get all the attention, flashing is actually the most common site for leaks. Flashing is the thin metal (aluminum, copper, or steel) installed at “transitions,” such as where the roof meets a chimney, a dormer wall, or a vent pipe.
Resealing Pipe Boots and Flashing for Asphalt roof leak repair
Plumbing vent pipes are protected by rubber “boots.” These rubber seals typically dry out and crack after just 5 to 10 years, often failing long before the shingles do.
- The Fix: If the rubber is cracked, you can sometimes apply a specialized silicone sealant as a temporary fix. However, the best practice is to replace the entire boot. This involves prying up the shingles around the pipe, sliding the old boot off, and installing a new one with a fresh bed of sealant.
- Valleys: Roof valleys handle more water volume than any other part of the roof. If a valley is leaking, it often requires a structural roof repair because the underlying metal or ice-and-water shield has failed.
If you live in areas like Mount Vernon or Newark, Ohio, winter ice dams can also force water under flashing. Ensuring your flashing is properly integrated with your roof installation is the only way to prevent this.
Professional vs. DIY: Costs and Safety
Is Asphalt roof leak repair a weekend DIY project? For a single nail pop or one curled shingle, yes. For anything involving valleys, chimneys, or steep pitches, the risks often outweigh the savings.
| Repair Type | DIY Cost (Materials) | Professional Cost |
|---|---|---|
| Pipe Boot Replacement | $25 – $50 | $750 – $1,250 |
| Shingle Patch (1-3 shingles) | $50 – $100 | $350 – $600 |
| Valley Repair | $150 – $300 | $1,550 – $3,200 |
| Chimney Flashing | $100 – $200 | $2,250 – $4,250 |
Safety and Warranty Risks
- Ladder Safety: Over 100 people die annually from ladder accidents in the US. Professional crews use OSHA-compliant harnesses and stabilizers.
- Warranty Voiding: Using unapproved products like Flex Seal can chemically react with asphalt, causing shingles to delaminate. Most manufacturers, including CertainTeed, will void your warranty if they find non-standard repairs.
- Insurance Issues: Homeowners insurance typically covers “sudden and accidental” damage (like a tree limb falling). If you attempt a DIY fix that fails, insurance may deny future claims for the resulting water damage, citing “improper maintenance.”
Frequently Asked Questions about Asphalt Roof Repair
Will using Flex Seal void my roof warranty?
Yes. Flex Seal and similar “as seen on TV” products are not UV-stabilized for long-term roofing use and are often petroleum-based. These chemicals can melt the asphalt in your shingles, leading to “alligatoring” or cracking. Stick to professional-grade roofing cements.
How long can I safely delay a small roof leak?
No longer than 24-48 hours. A small brown spot on your ceiling is just the tip of the iceberg. Behind that drywall, water is soaking into your wooden rafters and fiberglass insulation. Wet insulation loses its effectiveness immediately, and mold can begin to colonize within two days.
Does homeowners insurance cover asphalt shingle leaks?
Generally, insurance covers damage from storms, hail, or falling objects. It does not cover leaks caused by old age (shingles over 20 years old), lack of maintenance (clogged gutters causing backups), or general wear and tear. If you aren’t sure, a professional roof inspection can provide the documentation you need for a claim.
Conclusion
At Mid Ohio Roofing, we know that your home is your biggest investment. Whether you are in Mount Perry, Columbus, or Zanesville, our weather doesn’t take it easy on your roof. From the heavy snows of Newark to the windstorms of Springfield, your shingles are your first line of defense.
If you’ve spotted a leak, don’t wait for the next storm to see if your DIY patch holds. We provide transparent pricing, fast emergency roofing response, and the local expertise that only comes from years of working in the Ohio climate. If the damage is extensive, we can even discuss a full roof replacement to give you total peace of mind.
Stop the drip before it stops you. Contact our team today for a free inspection or to schedule your Asphalt roof leak repair. We’re licensed, insured, and ready to protect your home.