Essential Tools for Cutting Metal Roofing
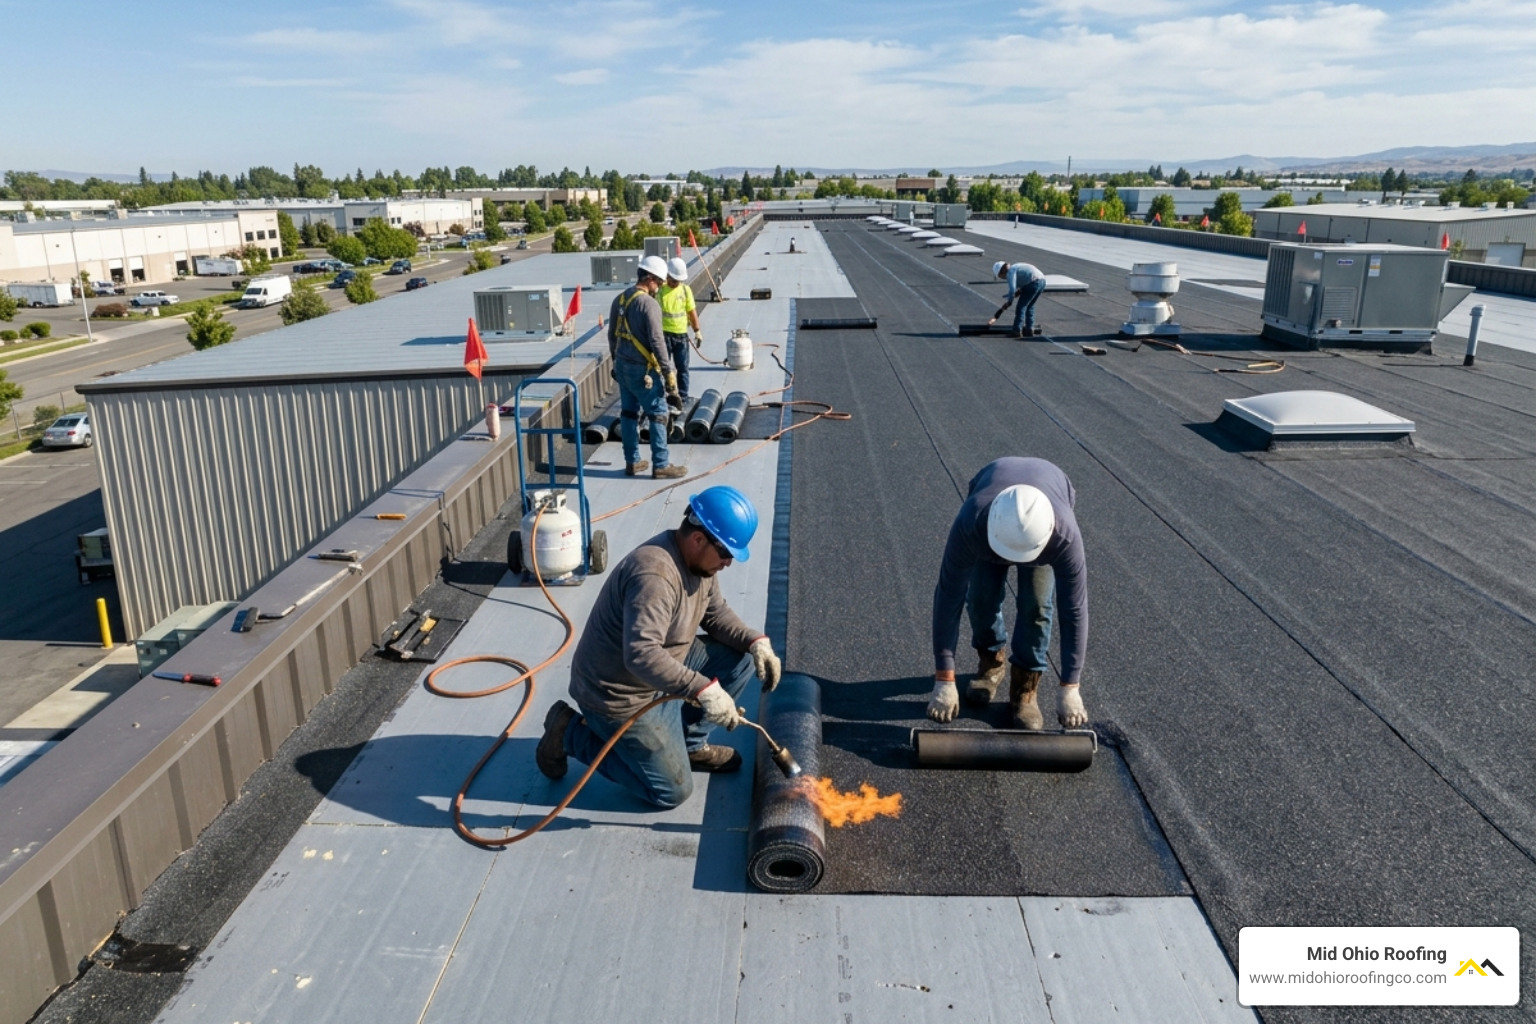
Cutting metal roofing the right way comes down to choosing the correct tool for your panel type and gauge, preparing your workspace, and protecting cut edges from rust. As a premier Ohio roofing company, we know that precision during the installation phase is what separates a lifetime roof from one that fails in five years. For homeowners planning a full system upgrade, professional metal roofing installation starts with precise field cuts that preserve the factory coating and panel strength. Here’s a quick overview:
Best tools for cutting metal roofing:
- Aviation snips — best for 24–26 gauge steel, small cuts, and curves
- Electric nibblers / power shears — best for long straight cuts and corrugated profiles
- Circular saw with metal-cutting blade — fast for ripping long panels
- Angle grinder — use only as a last resort; generates damaging heat and rust-causing swarf
Key steps:
- Measure twice, mark with a fine-tip marker
- Place panel with the finished side facing up
- Choose the right tool for your cut type and gauge
- Cut slowly and steadily
- Deburr edges and apply zinc-rich primer or touch-up paint immediately
Whether you’re trimming panels for a gable end or cutting around a chimney, getting each step right protects your roof’s finish, prevents corrosion, and keeps your installation looking professional for decades. According to CertainTeed, proper handling of metal components is vital to maintaining the integrity of the coating system.
I’m Albert Wengerd, owner of Mid Ohio Roofing, and I’ve overseen dozens of metal roofing installations across Ohio — which means cutting metal roofing in real-world conditions, from corrugated panels to standing seam systems. In this guide, I’ll walk you through exactly what works, what doesn’t, and how to avoid the mistakes that turn a straightforward cut into a costly roof repair.


Choosing the right tool is the difference between a clean, professional edge and a jagged mess that invites rust. In our experience providing metal roofing services across Central Ohio, we’ve found that the “best” tool depends entirely on the thickness (gauge) of the metal and the complexity of the cut.
Most residential projects in May 2026 utilize 24-gauge or 26-gauge steel. While 29-gauge steel is available, it is often too thin for the heavy snow and high winds we see in places like Zanesville or Mount Vernon.
| Tool Type | Best For | Precision | Speed |
|---|---|---|---|
| Aviation Snips | Small trims, notches, curves | High | Low |
| Electric Nibblers | Corrugated panels, complex shapes | High | Medium |
| Power Shears | Long, straight rips | Medium | High |
| Circular Saw | Ripping long panels (with metal blade) | Medium | Very High |
For those looking for a deep dive into manual options, Cutting Metal Roofing With Shears: Techniques, Tools, and Best Practices highlights how shearing actions preserve the protective coatings better than abrasive methods.
Making Precise Straight Cuts on Metal Roofing
For long, straight lines, power shears are the gold standard. They work like motorized scissors, removing a thin strip of metal as they go, which prevents the panel from warping. If you are working with 24-gauge steel, you’ll want a tool that can handle the density without “chattering” or leaving a ragged edge.
When using hand tools for straight cuts, yellow-handled aviation snips are designed specifically for straight lines. We recommend keeping the blades slightly open during the cut; closing them completely can create a small “burr” or “fish-hook” at the end of every snip. To learn more about mastering these manual techniques, check out Learn How to Cut Metal Roofing: Raising Your Roof Game.
Techniques for Cutting Metal Roofing Around Vents and Curves
Cutting holes for plumbing vents or chimneys requires a different approach. You cannot easily use a straight shear for a circular hole. Instead, we use a combination of red and green aviation snips. Red snips are designed to cut curves to the left (counter-clockwise), while green snips cut to the right (clockwise).
For a cleaner finish on internal cuts, we suggest drilling a pilot hole first, then using a drill-attachment nibbler. Nibblers are fantastic because they “nibble” away small half-moon shapes of metal, allowing you to navigate tight radii without distorting the surrounding panel. According to Cutting Metal Roof Panels: Tools, Techniques, and Best Practices, using a nibbler is the safest way to avoid the heat that can ruin factory paint finishes.
Safety and Preparation: Setting Up Your Workspace

Before cutting metal roofing, you must prioritize safety. Metal shards are incredibly sharp, and the “swarf” (fine metal filings) produced by saws can be hazardous if inhaled or if it gets in your eyes. On repair jobs, this same debris can also damage adjacent panels, flashing, and gutters, which is why safe cutting practices are part of every professional roof repair workflow.
Essential PPE includes:
- Safety Glasses with Side Shields: Or better yet, a full-face shield to protect against “hellaceous showers” of sparks or fragments.
- Cut-Resistant Gloves: Heavy-duty leather or Kevlar-lined gloves are mandatory.
- Hearing Protection: Cutting metal is loud, often exceeding 100 decibels.
- N95 Respirator: Especially if using a saw, to avoid breathing in metallic dust.
Your work surface is equally important. While many DIYers use sawhorses, we often find that laying the panels on clean grass provides better support and prevents the metal from “flapping” or vibrating during the cut. If you must use a table, ensure the panel is clamped firmly. Use painter’s tape along your cut line; this not only makes your mark easier to see but also protects the finished surface from scratches. For a breakdown of the preparation phase, How to Cut Metal Roofing in 4 Simple Steps offers excellent foundational advice.
Step-by-Step Guide to Cutting Metal Roofing Panels
- Measure and Mark: Measure the roof area twice. Mark your line on the panel using a combination square and a fine-tip permanent marker or grease pencil.
- Orientation: Always place the panel with the finished side facing up if using shears or snips. This ensures any burrs form on the underside of the panel, where they won’t be visible or trap debris.
- The Initial Cut: If using a circular saw, ensure you have a dedicated metal-cutting blade (not a wood blade). Set the depth so the blade only extends about 1/8 inch past the metal. This minimizes vibration.
- Handling Profiles: When cutting metal roofing that is corrugated or ribbed, start your cut from the valley rather than the ridge. This prevents the tool from catching on the raised sections.
- Steady Feed: Move the tool at a consistent speed. If using power shears and the tool snags, change the angle slightly rather than forcing it through.
A clean cut is only one part of a watertight system. Proper panel layout, flashing integration, and trim installation are what make metal roofing perform for decades in Ohio weather. For those specifically using power saws, Cutting Metal Roofing With a Circular Saw provides detailed TPI (teeth per inch) recommendations to ensure you don’t “tear” the metal.
Why You Should Avoid Using an Angle Grinder
It is tempting to grab an angle grinder for a quick cut, but we strongly advise against it for residential metal roofing. Angle grinders use abrasive disks that generate extreme heat. This heat doesn’t just cut the metal; it melts the protective Galvalume or galvanized coating and “burns” the paint back from the edge.
Furthermore, grinders produce “swarf”—thousands of tiny, red-hot metallic filings. These filings land on the surface of your panels and melt into the paint. Within a few weeks of Ohio rain, these tiny fragments will rust, leaving your brand-new roof covered in orange speckles. This damage is often permanent and will almost certainly void your manufacturer’s warranty. As noted in Cutting Metal Roofing, the goal of field cutting is to maintain the “self-healing” properties of the zinc coating, which abrasive cutting destroys.
Finishing the Edge: Preventing Rust and Corrosion
Every time you cut a metal panel, you leave the raw steel core exposed to the elements. Even if you use the best tools, that edge needs protection. This is a non-negotiable step on every professional installation and one reason homeowners often hire a qualified roofing company for panel modifications and detail work.
- Deburring: Use a fine metal file to smooth the cut edge. This removes “burrs”—sharp slivers of metal that can trap moisture and accelerate rust.
- Zinc-Rich Primer: Apply a high-quality zinc-rich primer to the edge. This mimics the factory’s galvanic protection, where the zinc acts as a “sacrificial lamb” to protect the steel.
- Touch-Up Paint: Follow the primer with a manufacturer-approved touch-up paint that matches your panel color.
- Hemming: In harsh environments, or if the cut will be highly visible, we sometimes “hem” the edge—folding it back on itself—to hide the raw cut and provide a double layer of protection.
Properly finishing your edges is a core part of our metal roofing installation process at Mid Ohio Roofing. We’ve seen many DIY projects fail prematurely because this final, critical step was skipped.
Frequently Asked Questions about Cutting Metal Roofing
Which side of the metal panel should face up when cutting?
For most tools, including aviation snips and power shears, you should cut with the finished side facing up. This ensures that the cleanest part of the cut is on the visible side and any mechanical burrs are pushed to the back. However, if you are using a circular saw, some pros prefer cutting from the back to prevent the saw’s baseplate from scratching the paint. If you cut finished-side up with a saw, always use painter’s tape to protect the surface.
Can I use a standard wood blade in my circular saw for metal?
Technically, some people run a standard wood blade backward to cut metal, but we do not recommend this. It is incredibly loud, produces dangerous sparks, and creates a ragged edge. In May 2026, there are plenty of affordable carbide-tipped metal-cutting blades designed specifically for 24-26 gauge steel. These blades provide a much cooler, cleaner cut and are significantly safer.
How do I prevent the cut edges from rusting over time?
The best prevention is a combination of a “cold” cut (using shears or snips instead of a grinder) and immediate chemical protection. Apply a zinc-rich primer and a matching topcoat to every field cut. Additionally, try to plan your layout so that as many cut edges as possible are tucked under ridge caps, drip edges, or flashing, where they are shielded from direct rain and snow.
Conclusion
At Mid Ohio Roofing, we know that a metal roof is a significant investment for any Ohio homeowner. Whether you are in Columbus, Newark, or Springfield, the longevity of your roof depends on the precision of the installation. Cutting metal roofing correctly isn’t just about aesthetics; it’s about structural integrity and weather resistance.
We pride ourselves on our Ohio weather expertise and our commitment to transparent pricing and fast emergency response. If the prospect of making sixty linear feet of precision cuts feels overwhelming, or if you want to ensure your roof is backed by a professional warranty, we are here to help.
Ready to upgrade your home with a durable, professionally installed metal roof? Explore our Metal Roofing Services or contact us to schedule an inspection.