Identifying When Replacing Cedar Shingles is Necessary
Knowing exactly when to begin replacing cedar shingles can save you thousands of dollars in structural repairs. Because cedar is a natural material, it breathes and reacts to the environment. As a leading provider of expert roofing services, we understand that in our service areas like Zanesville, OH, the primary enemies are moisture and UV radiation.

The most obvious signs that your shingles have reached the end of their lifespan include:
- Rot and Softness: If the wood feels “punky” or crumbles when touched, the cellular structure has failed.
- Warping and Curling: When shingles cup or curl significantly, they allow wind-driven rain to get behind the siding.
- Cracking and Splitting: While small “checks” are normal, deep splits that align with joints in the course below create a direct path for water.
- The Screwdriver Test: This is our favorite pro tip. Take a flat-head screwdriver and gently probe any dark or discolored spots. If the tool sinks into the wood with little resistance, you have deep-seated rot.
- Insect Infestation: Cedar is naturally insect-resistant, but as it decays and stays moist, it becomes an inviting home for carpenter ants and termites.
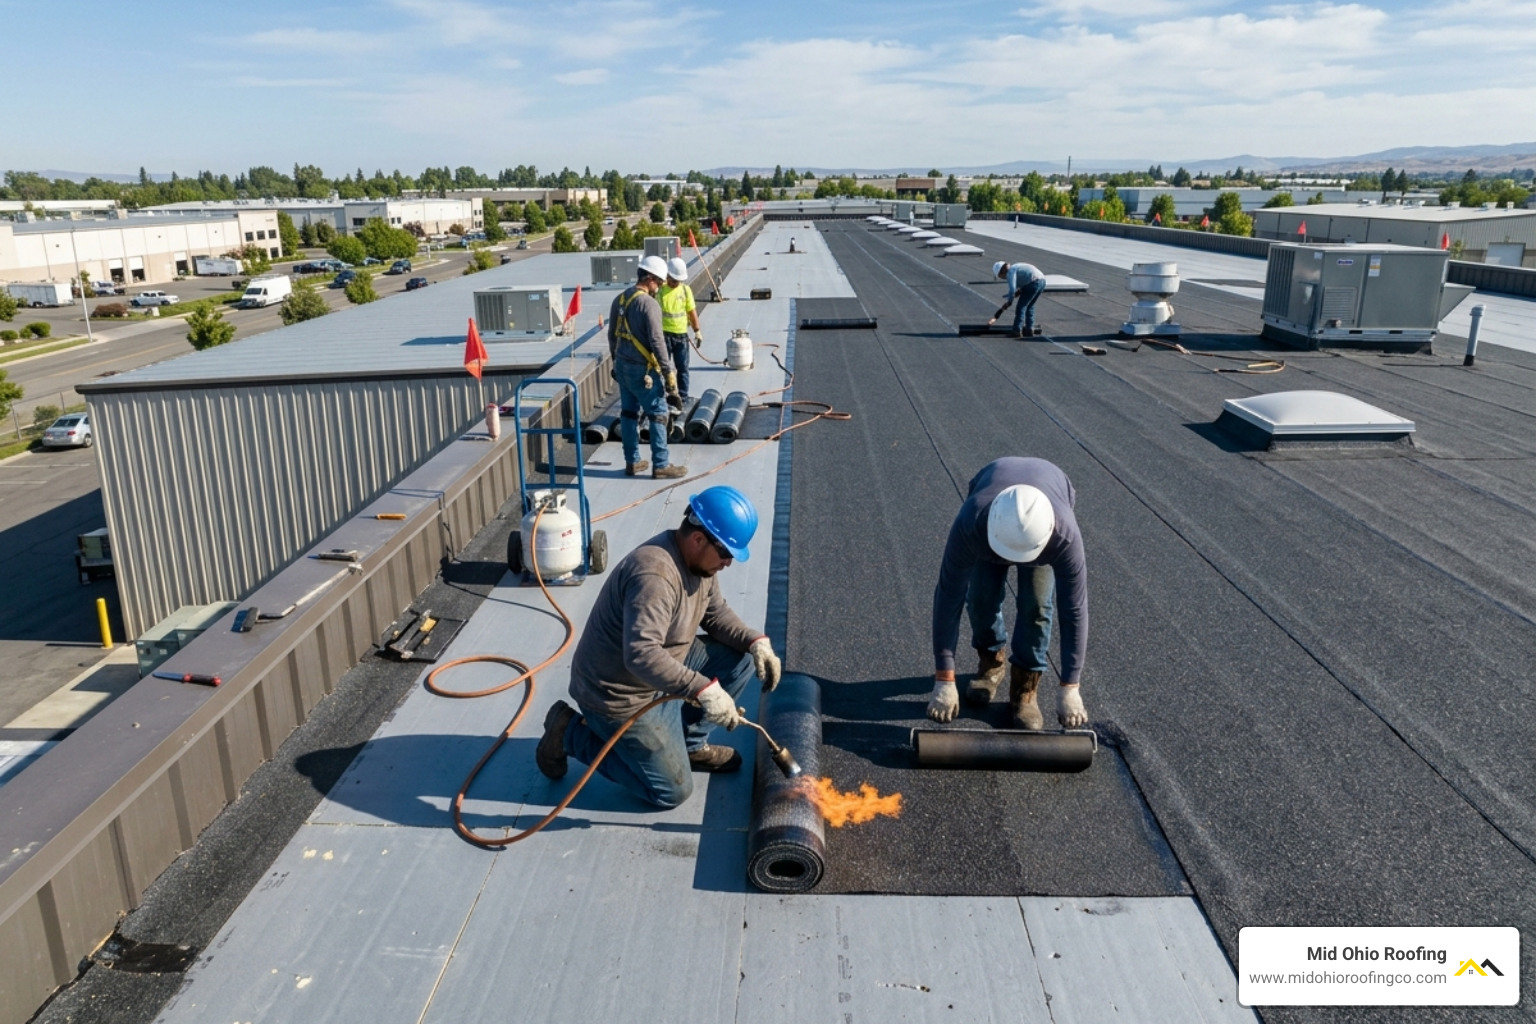
According to industry data from the Cedar Shake & Shingle Bureau, cedar shingles can last 20 to 40 years, but neglected siding often fails in as little as 15 to 20 years. If you notice an unexplained increase in your energy bills or feel drafts near your exterior walls, your cedar siding may no longer be providing an effective thermal envelope. For a professional evaluation of your home’s exterior, we recommend scheduling one of our roof inspections to catch these issues before they migrate to your rafters.
Signs of Underlying Sheathing Damage
When replacing cedar shingles, the shingle itself is often just the tip of the iceberg. The real concern is the sheathing (usually OSB or plywood) underneath. We often see “sponginess” in the walls of homes in Columbus where water has bypassed the shingles.
Look for:
- Moisture Stains: Dark staining on the housewrap or sheathing.
- Mold Growth: Any fuzzy or black growth indicates a long-term moisture trap.
- OSB Swelling: OSB (Oriented Strand Board) tends to swell at the edges when wet, creating a bumpy surface that prevents new shingles from laying flat.
Evaluating Shingle Lifespan in April 2026
As of April 2026, many homes built during the housing booms of the late 90s and early 2000s are hitting that critical 25-year mark. Ohio weather is particularly brutal on wood. The intense UV rays of July degrade the lignin in the wood, while the freezing winters cause any absorbed moisture to expand, widening cracks. If your shingles haven’t been stained or painted in the last 5 years, the risk of failure is significantly higher.
Essential Tools and Materials for Cedar Shingle Repair
To do this job right, you need more than just a standard toolbox. Since we specialize in residential roofing, we’ve refined the list of must-have gear for working with cedar.

The Essential Materials List:
- Cedar Shingles: Match your existing grade (usually Grade A or B).
- Fasteners: Use Stainless Steel (Type 304 or 316) or hot-dipped galvanized nails from a reputable brand like Maze Nails.
- Underlayment: No. 30 felt paper or a high-quality housewrap like DuPont Tyvek.
- Flashing: Small pieces of aluminum or copper for “step flashing” around obstacles.
The Pro Tool Kit:
- Slater’s Ripper: A long, flat tool with hooks designed to slide under shingles and cut the nails.
- Shingle Spade: Great for larger removal jobs.
- Oscillating Multitool: Perfect for precision cuts around windows or doors.
- Chalk Line: Essential for keeping your courses straight.
- Shingle Rack: A DIY jig made from plywood and a 1×2 strip to help you align shingles quickly.
Selecting the Right Cedar Grades and Fasteners
Not all cedar is created equal. For sidewalls, we often recommend R&R (Resawn and Rebutted) shingles. These are sawn on both sides and have perfectly square butts, making them much easier to install than rustic shakes.
When it comes to fasteners, never use staples. While some contractors use them to save time, staples lack the “head” surface area to hold shingles during high winds and are prone to rusting through, leading to “bleeding” stains on your beautiful wood. Always choose ring-shank nails that penetrate the framing by at least one inch.
Why You Must Avoid Staples in Cedar Siding
Staples are the leading cause of premature shingle loss. Because cedar contains natural tannins, it is highly acidic. Standard steel staples will corrode rapidly, causing the shingle to loosen and eventually fall off. Furthermore, staples tend to split the thin “taper” of the shingle during installation, creating a point of failure before the job is even finished.
Step-by-Step Process for Replacing Cedar Shingles Safely
Safety is our first priority at Mid Ohio Roofing. Before you climb a ladder, ensure you have proper fall protection and dust masks. Cedar dust is classified as a nasal carcinogen, so don’t skimp on the PPE (Personal Protective Equipment). If the job feels too high or complex, it’s always safer to look into professional roof repairs.

Removing Damaged Shingles and Preparing the Surface
- Identify the Target: Mark the shingles that need to come out.
- Split the Shingle: Use a hammer and chisel to split the damaged shingle into small strips. This makes it easier to pull the pieces out from under the course above.
- Cut the Nails: Slide your slater’s ripper (or a hacksaw blade) up under the overlying shingle. Hook the nail and pull sharply to cut it.
- Inspect the “Guts”: Once the shingle is out, check the housewrap and sheathing. If the OSB is spongy, you must cut out the damaged section and replace it with fresh material before proceeding.
Best Practices for Replacing Cedar Shingles and Shakes
When installing the new pieces, follow these “Golden Rules” used by the Cedar Shake & Shingle Bureau:
- The Starter Course: Always start with a double layer at the very bottom of the wall. This ensures water doesn’t seep behind the first row.
- Joint Staggering: Ensure that the joints (the gaps between shingles) are offset by at least 1.5 inches from the joints in the course above and below.
- Expansion Gaps: Leave a 1/8″ to 1/4″ gap between shingles. Cedar expands when it gets wet; if you butt them too tightly, they will “fishmouth” or buckle.
- Nailing Pattern: Drive two nails per shingle, roughly 3/4″ from the edges and 1″ above the exposure line (the part that will be visible).
Common Mistakes When Replacing Cedar Shingles
- Overdriving Nails: If the nail head sinks too deep, it crushes the wood fibers and creates a tiny bowl that holds water, leading to rot.
- Caulking the Bottoms: Never caulk the bottom edge of a shingle. Cedar needs to breathe and shed water; sealing the bottom traps moisture inside the wall.
- Poor Alignment: Using your eye instead of a chalk line leads to “wavy” rows that look unprofessional and compromise the water-shedding ability of the siding.
Cost Analysis and Modern Alternatives to Cedar
Replacing cedar shingles is a significant investment. In 2026, the cost for a full professional replacement typically ranges from $8 to $14 per square foot installed. For a standard 2,000-square-foot home, this can mean a total project cost of $16,000 to $28,000.

When to Consider Fiber Cement or Engineered Wood
If the maintenance of natural wood feels overwhelming, you aren’t alone. Many homeowners in Newark and New Albany are switching to fiber cement (like James Hardie) or engineered wood (like LP SmartSide).
- Pros: These materials are fire-resistant, don’t rot, and only need painting every 10–15 years.
- Cons: They don’t have the exact “aroma” or organic texture of real cedar, and they can be difficult to “patch” into an existing wood wall.
If you’re considering a total change of pace, we also offer expert installation for asphalt shingle roofs which can provide a different aesthetic at a lower price point.
Professional vs. DIY: When to Call an Expert
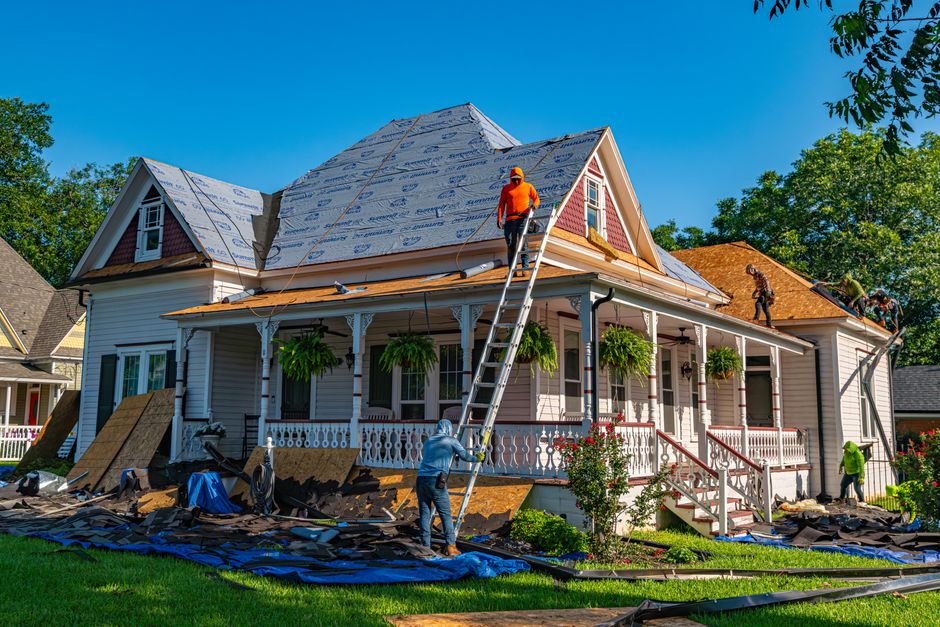
A small repair at ground level is a great weekend project for a woodworker. However, you should call Mid Ohio Roofing for a roof replacement or professional roof installation if:
- The damage covers more than 15% of the wall.
- You have to work higher than the first story.
- There is evidence of structural rot in the wall studs.
- You need a labor warranty to satisfy your homeowner’s insurance or a future buyer.
Frequently Asked Questions about Replacing Cedar Shingles
Should I prime or paint all sides of cedar shingles before installation?
Yes. This is known as “back-priming.” By sealing all six sides of the shingle before it goes on the wall, you prevent moisture from being sucked into the back of the wood. This significantly reduces “tannin bleed” (those ugly brown stains) and prevents the wood from cupping.
How do I handle repairs around windows, doors, and corners?
Around windows and doors, ensure your flashing is tucked under the housewrap but over the shingle. For corners, the most traditional and attractive method is the woven corner, where shingles from adjacent walls overlap each other in an alternating pattern. This requires careful trimming with a block plane but provides a superior watertight seal compared to corner boards.
Where can I source matching cedar shingles for historic repairs?
For historic homes in Mount Vernon or Zanesville, matching the “patina” of old shingles is tough. Local lumber yards are your best bet for sourcing high-grade Western Red Cedar. If you can’t find a match, you can sometimes salvage shingles from a less visible part of the house (like the back of a garage) to use for a prominent front-facing repair.
Conclusion
Replacing cedar shingles is an art form that blends traditional woodworking with modern moisture management. Whether you’re doing a small spot repair or a full-scale renovation, the key is patience and the right materials. Remember to inspect your siding annually, keep your gutters clean, and re-stain every 3 to 5 years to maximize your investment.
At Mid Ohio Roofing, we are proud to serve Central Ohio with transparent pricing and expert craftsmanship. From Springfield to Athens, we’re here to ensure your home stays dry and beautiful for decades to come.
Ready to restore the beauty of your home? Schedule your professional roof replacement today for a free estimate!