When You Need an Emergency Roof Tarp: What to Do Right Now
An emergency roof tarp is a heavy-duty waterproof cover secured over a damaged roof to stop water intrusion until permanent repairs can be made. If your roof has been damaged by a storm, securing your home with expert roofing solutions is the most critical step in protecting your property. Here is what you need to do immediately:
- Stay off the roof — assess damage from the ground using binoculars
- Document everything — photograph all visible damage before covering it
- Call a professional — contact Mid Ohio Roofing or install a tarp yourself if it is safe to do so
- Notify your insurer — report the damage within 24–72 hours
- Secure the tarp — cover the damaged area with at least 4 feet of overlap on all sides
Acting fast matters. Secondary water damage accounts for up to 80% of total storm-related repair costs, and mold can begin forming within just 24–48 hours of water entering your home.
Ohio storms — from heavy spring hail to late-season wind events — can leave your roof exposed in minutes. What happens in the hours after the storm often determines whether you’re dealing with a simple repair or a full structural restoration. A small breach in your roof deck can quietly soak insulation, rot rafters, and trigger a mold problem long before you notice water dripping from the ceiling.
I’m Albert Wengerd, owner of Mid Ohio Roofing, and I’ve helped homeowners across Central Ohio respond to storm damage with fast, properly installed emergency roof tarps that protect both their homes and their insurance claims. In this guide, I’ll walk you through everything you need to know — from assessing the damage safely to securing your roof correctly.

Why Immediate Emergency Roof Tarping is Essential After Storm Damage
When a storm hits places like Newark, OH or Columbus, the damage to your shingles or metal panels is just the beginning. The real enemy is the clock. Every minute your roof deck is exposed to the elements, the risk of catastrophic secondary damage increases. As noted by CertainTeed, moisture infiltration is the leading cause of premature roof failure.
We often see homeowners hesitate, thinking they can wait for a sunny day or for an adjuster to arrive. However, delaying mitigation is a costly mistake. Emergency roof tarping acts as a vital shield, buying you time to coordinate with contractors and insurance companies without the fear of the next rain shower ruining your living room.
| Damage Type | Immediate Tarping Cost | Delayed Repair Cost (Estimated) | Reason for Increase |
|---|---|---|---|
| Missing Shingles | $500 – $1,500 | $5,000 – $15,000 | Ceiling collapse, wet insulation |
| Fallen Tree Branch | $800 – $2,000 | $20,000+ | Structural rot, mold remediation |
| Hail Punctures | $1.00 – $2.80/sq ft | $10,000+ | Hidden rot in rafters and attic |
As noted by the East Coast Roofing Guide, tarping is the first line of defense in storm damage roofing protocols. It transforms a vulnerable house back into a secure home.
Preventing Mold and Structural Rot
The most insidious result of a roof leak is the rapid onset of mold. Mold colonies can begin to foster within just 24 to 48 hours after water intrusion. Once water enters your attic, it creates a humid environment perfect for spores to thrive.
Furthermore, water isn’t just a surface issue. Wet insulation can lose up to 50% of its R-value, meaning your home’s energy efficiency is compromised immediately. If moisture is allowed to sit, wooden rafters can lose 20–30% of their load-bearing capacity within weeks. Our roof leak detection services often find that water has traveled far down the rafters, causing rot in areas far away from the original hole.
Meeting Insurance Mitigation Requirements
Did you know that approximately 15–20% of insurance claims are rejected because homeowners failed to take “reasonable steps” to prevent further damage? Most policies have a “mitigation of loss” clause. This means if you let your roof leak for a week without trying to cover it, the insurance company might refuse to pay for the resulting mold or ruined drywall.
When we perform storm damage roofing in Columbus, we provide full documentation for your claim. This includes timestamped photos of the damage and the installed tarp, proving to your adjuster that you acted responsibly to protect the property.
When to Call Professionals for an Emergency Roof Tarp

While the DIY spirit is strong in Ohio, roof tarping is a high-risk activity. Falls are responsible for 25% of all roofing-related injuries. After a storm, the conditions are even more hazardous. A wet roof is as slick as ice, and structural damage may have created “soft spots” in the wood deck that you can’t see from the surface.
Our data shows that DIY tarping attempts have a 40% failure rate in high winds, compared to only about 15% for professional installations. If a tarp blows off in the middle of the night, you’re back to square one—but with more holes in your roof from the failed attempt. Calling for emergency roofing ensures the job is done right the first time.
Assessing Damage Safety and Accessibility
Before you even think about grabbing a ladder, look up. Are there downed power lines nearby? Is the roof slope too steep for standard footwear? After a major impact, such as a fallen tree, the structural integrity of the home may be compromised.
For residential roofing, we use specialized safety harnesses and OSHA-compliant fall protection. We also check the attic from the inside first to ensure the decking can actually support the weight of a technician. If the damage is extensive, it is always safer to let a pro handle the heights.
Benefits of a Professional Emergency Roof Tarp Installation
Professional-grade materials are vastly superior to the thin blue tarps found at local hardware stores. While a retail tarp might be 3–5 mils thick, a professional emergency roof tarp is typically 10–12 mils thick with a reinforced scrim.
These heavy-duty covers offer:
- 300lb tear strength to resist wind uplift.
- 95% reduction in water ingress compared to loose-laid DIY tarps.
- UV stabilization to prevent the sun from making the plastic brittle.
Whether we are handling storm damage roofing in Cincinnati or a small leak in Zanesville, we use these high-spec materials to ensure your home stays dry for weeks, not just days.
Step-by-Step Guide to Installing an Emergency Roof Tarp
If you must install a tarp yourself, you need to follow a specific process to ensure it doesn’t blow away during the next gust of wind. The goal is to create a watertight seal that directs water over the tarp and off the roof, rather than letting it seep underneath.

Preparing the Damaged Area
Start with a binocular inspection from the ground. Look for missing shingles, cracked tiles, or punctures. Once it is safe to access the roof, clear away all debris. Branches, loose shingles, and grit can puncture your tarp from underneath if they aren’t removed.
A clean surface is essential for a good seal. According to the National Roofing Contractors Association (NRCA), proper surface preparation is vital for any temporary or permanent roofing application. During our roof inspections, we always emphasize that the preparation phase is just as important as the installation itself.
Securing the Tarp with the Anchor Board Method
The most reliable way to secure a tarp is the “anchor board” or “2×4 sandwich” method.
- Measure and Overlap: Ensure your tarp is large enough to cover the damage plus 4 feet of overlap on all sides. According to Cabezon Roofing, the tarp must extend over the roof ridge to prevent water from running under the top edge.
- The Sandwich: Wrap the edge of the tarp around a 2×4 piece of lumber. Then, screw another 2×4 on top of it, “sandwiching” the tarp in between.
- Fasten: Use 3-inch deck screws to attach these boards directly into the roof decking. While this creates small holes in your shingles, those shingles are already damaged or will be replaced during roof repairs.
- Tension: Pull the tarp tight. Any slack will allow the wind to get underneath, creating a “parachute” effect that can rip the boards right off the roof.
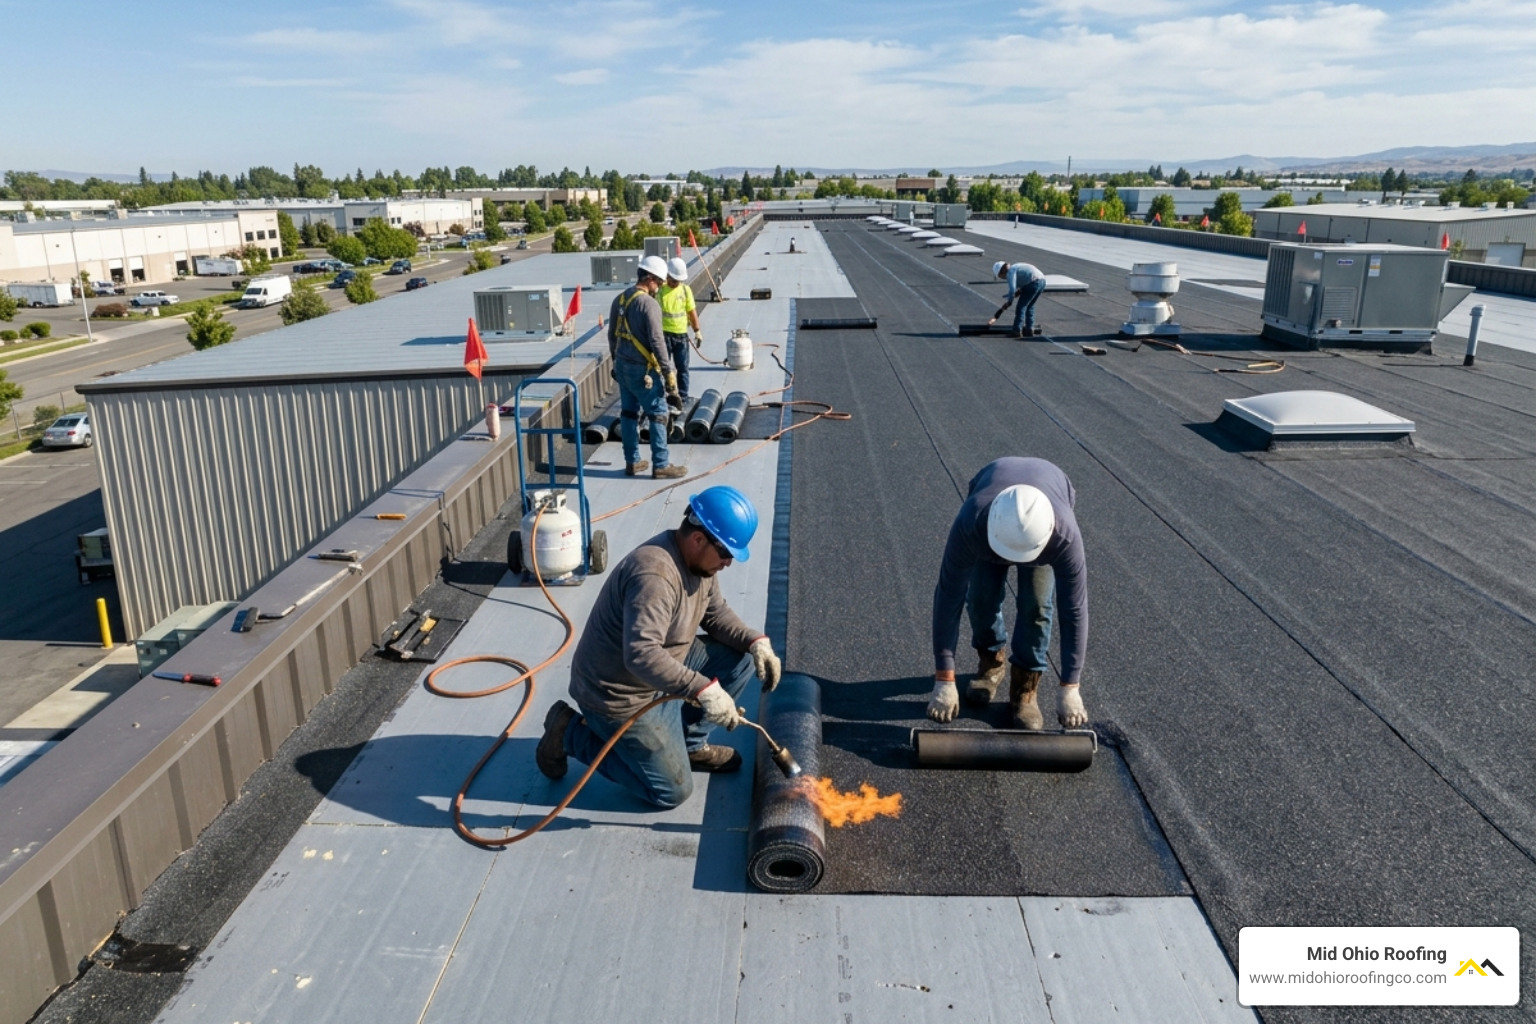
For commercial roofing with flat surfaces, we often use weighted sandbags instead of screws to avoid damaging expensive membranes, but for sloped residential roofs, mechanical fastening is the gold standard.
Materials, Costs, and Lifespan of Temporary Roof Covers
Not all tarps are created equal. In the roofing world, we measure quality by “mils” (thickness) and “denier” (the weight of the thread used in the weave). If you are looking for emergency roof tarping in Ohio, you want something that can withstand the unpredictable Midwestern weather.
Professional vs. Retail Grade Materials
A standard blue tarp from a big-box store is usually designed for covering a woodpile, not a home. Professional emergency tarping uses materials that align with high-durability standards from manufacturers like GAF:
- 10–12 mil thickness: Provides enough weight to stay flat and resist punctures.
- 800–1000 Denier: A heavy weave that prevents “scrim” tearing.
- Fire Retardancy: Essential for safety if the tarp is near chimneys or vents.
- UV Durability: Standard tarps degrade in 30 days of sun; professional versions are rated for 90 days or more.
Estimating the Cost of an Emergency Roof Tarp
The cost for professional installation typically ranges from $1.00 to $2.80 per square foot. For a standard residential patch, you can expect to pay between $500 and $1,500, depending on the height and steepness of the roof.
While this might seem like a lot for a “temporary” fix, this cost is almost always reimbursable by your insurance provider. It is an investment in preventing $20,000 worth of mold remediation later.
Frequently Asked Questions about Emergency Roof Tarps
How long can an emergency roof tarp safely stay in place?
A professionally installed tarp is designed to last 30 to 90 days. However, it is a temporary solution. In Ohio, where we deal with heavy snow and high winds, we recommend inspecting the tarp after every major weather event. According to Owens Corning, consistent monitoring is key to preventing long-term structural issues. If you see the tarp flapping or notice new leaks, call us immediately for a maintenance check.
Will homeowners insurance cover the cost of tarping?
Yes, in the vast majority of cases. Since you are required to mitigate damage, insurance companies view tarping as a “reasonable and necessary” expense. Keep your receipts and take “before and after” photos to make the reimbursement process smooth. This proactive protection is exactly what adjusters look for when approving a claim.
What are the common mistakes to avoid when tarping a roof?
- Using Bricks: Never use bricks or loose rocks to hold down a tarp. They will slide off and become dangerous projectiles during a storm.
- Insufficient Overlap: If you don’t overlap the ridge or extend the tarp 4 feet past the damage, water will simply run underneath it.
- Nailing Directly: Don’t just staple or nail the tarp fabric directly to the roof. The wind will pull the fabric right over the nail heads. Always use anchor boards.
Conclusion
When the clouds clear and you see the damage to your home, don’t panic—act. An emergency roof tarp is your best tool for stopping a bad situation from getting worse. At Mid Ohio Roofing, we specialize in rapid response for homeowners in Mount Vernon, Columbus, and throughout Central Ohio.
We don’t just throw a tarp over a hole; we provide a secure, professional-grade seal that protects your family and your investment. Once the tarp is on, we’ll work with you to transition to permanent repairs or a full roof replacement, ensuring your home is stronger than it was before the storm.